“Drawing:bkjikold4xi= giraffe” can be a delightful and therapeutic activity, and one of the most captivating subjects to draw is a giraffe. With its long neck, unique patterns, and graceful stature, a giraffe presents both a challenge and an opportunity to develop your artistic skills. In this guide, we will walk you through the process of drawing a giraffe, from basic shapes to detailed features.
Materials Needed
- Pencil
- Eraser
- Paper
- Colored pencils or markers (optional)
Step-by-Step Instructions
- Basic Shapes and Proportions
Start with the fundamental shapes to outline the giraffe’s body. Draw an elongated oval for the body and a smaller, slightly tilted oval above it for the head. Connect these ovals with two parallel lines to represent the long neck. Add a small circle for the snout at the lower end of the head oval.
- Outline the Legs and Tail
Draw four long, slightly curved lines extending from the body oval to represent the legs. The front legs should be slightly closer together than the back legs. Add small ovals at the end of each leg for the hooves. For the tail, draw a thin, curved line extending from the rear of the body oval, ending with a tuft of hair.
- Refining the Shape
Start refining the shapes by adding muscle definition and smoothing out the lines. Make the neck slightly thicker towards the base where it connects to the body. Define the legs more clearly, ensuring they taper slightly towards the hooves. Add a gentle curve to the back and belly of the giraffe.
- Head and Facial Features
Focus on the head next. Draw two large, almond-shaped eyes slightly above the snout circle. Add two small, rounded horns (ossicones) on top of the head. For the ears, draw two leaf-like shapes on either side of the head. Sketch the nostrils and mouth on the snout, giving the giraffe a gentle expression.
- Pattern and Details
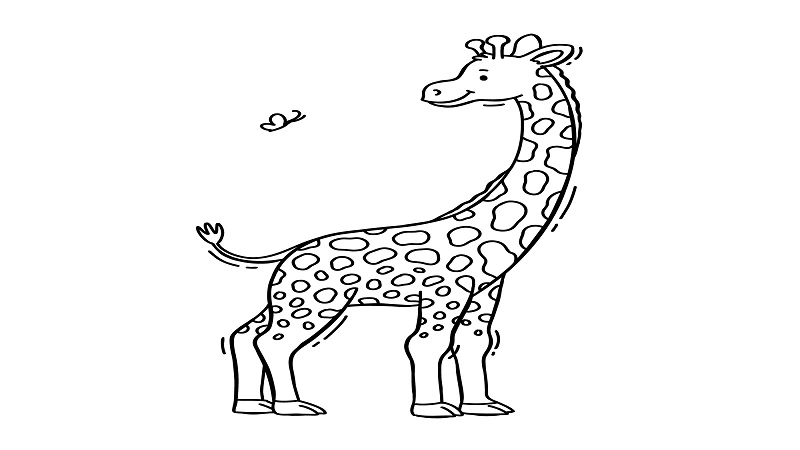
Giraffes are known for their distinctive coat patterns. Draw irregular, interconnected spots all over the giraffe’s body, neck, and legs. These spots can be of varying sizes but should follow the natural contours of the giraffe’s form. Add details such as the mane running along the back of the neck and the tuft of hair at the end of the tail.
- Final Touches
Once you’re satisfied with the outline and details, go over your drawing(drawing:bkjikold4xi= giraffe) with a darker pencil or pen to finalize the lines. Erase any unnecessary guidelines and refine the details. If you’re using colored pencils or markers, fill in the giraffe’s spots with a darker color, and use a lighter, yellowish-brown for the rest of the body. Don’t forget to add shadows and highlights to give your drawing a more three-dimensional appearance.
Tips for Success
- Observation: Study reference images of giraffes to understand their anatomy and patterns better.
- Patience: Take your time with each step, especially when adding the intricate spot patterns.
- Practice: Don’t be discouraged if your first few attempts aren’t perfect. Drawing is a skill that improves with practice.
By following these steps, you’ll be able to create a detailed and lifelike drawing of a giraffe. Enjoy the process, and remember that each drawing is a step towards improving your artistic abilities. Happy drawing!